
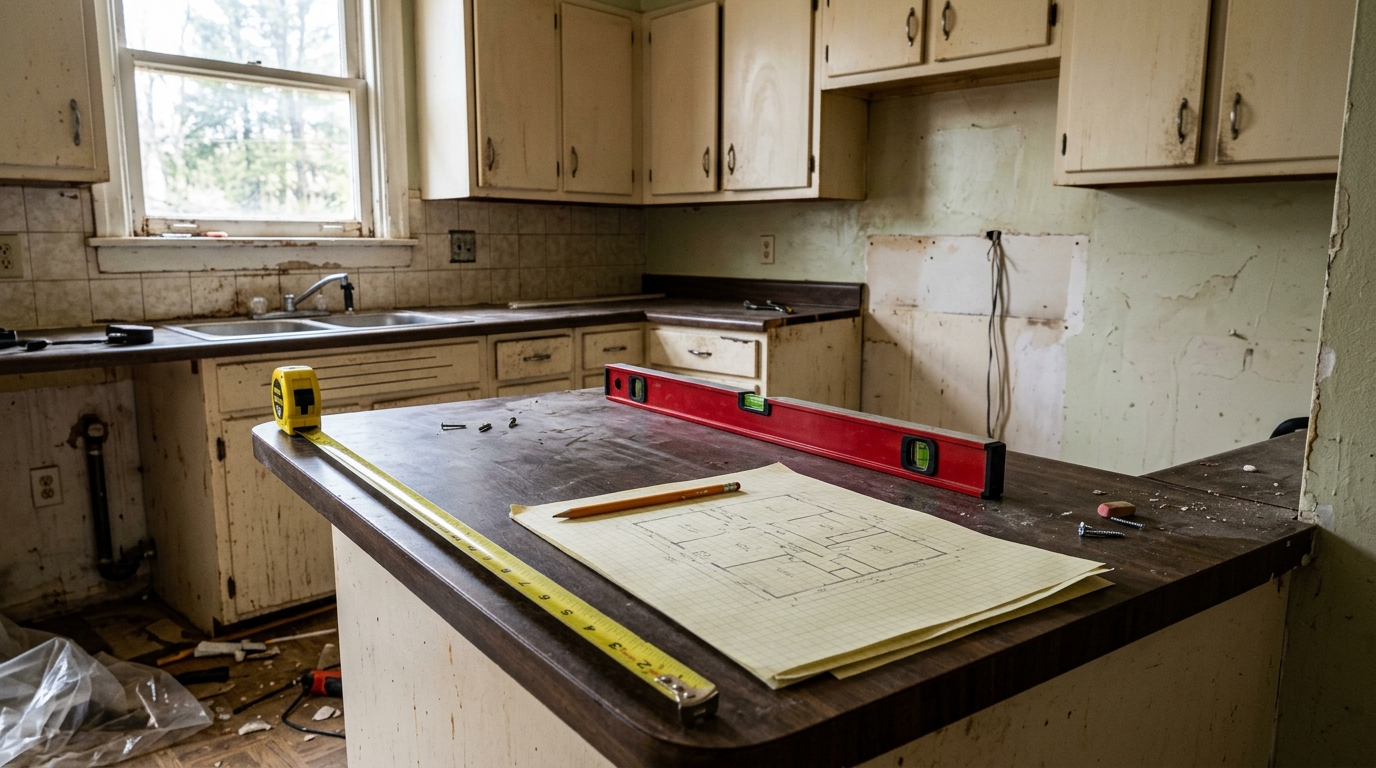
To measure your kitchen for new cabinets, sketch the room, then measure every wall at three heights, the ceiling height, every window and door including trim, and the exact location of plumbing, gas, electrical and appliances, all from the same starting corner. Record everything in inches, round nothing, and photograph each wall.
Your measurements don't have to be perfect. At Kitchen & Bath World, we take our own final measurements before anything is ordered. But a good homeowner measure means your first design and estimate are close to reality, and you'll spot problems like a radiator or a low bulkhead before they become surprises. Here's how to do it in about an hour.
Stand in the middle of the kitchen and sketch the outline from above. It doesn't need to be to scale. Draw every wall, then mark doorways, windows, the sink, the range, the fridge, and anything that sticks out: a bulkhead, a chimney chase, a heat register, a radiator or a structural post. Label each wall with a letter (A, B, C) so your measurements have somewhere to go.
Pick one corner as your starting point and note it on the sketch. Every horizontal measurement on that wall will run from that corner, which keeps positions consistent.
Measure each wall's full length, corner to corner, at three heights:
Walls in older homes are rarely perfectly straight, and drywall builds up in corners. If the three numbers differ, write all three down. The smallest number is the one that matters, because the cabinets have to fit at the tightest point. A difference of more than about half an inch is worth flagging to your designer, who will plan filler strips or scribe moulding to cover it.
Measure from the floor to the ceiling in at least three spots along each wall that will get upper cabinets. Floors and ceilings both sag, particularly in older houses, and a 1" dip decides whether stacked uppers or crown moulding will fit.
Ceiling height is what drives your upper cabinet choice. An 8' (96") ceiling usually suits 30" or 36" uppers, while a 9' (108") ceiling leaves room for a second stacked row. Our guide to 30" vs 36" upper cabinets explains the math. If there's a bulkhead, measure its height from the floor, its depth from the wall, and its length.
For every window and door on a cabinet wall, record:
The sill height matters more than people think. Standard countertops with a 4" backsplash reach about 40", so a low sill can clash with the counter or backsplash, particularly behind a sink.
Measure from your starting corner to the centre of each of these, and note its height off the floor:
Keeping the sink and range where they are is usually the biggest money saver in a kitchen renovation. Moving them is possible, but it may bring in a plumber, electrician or gas fitter, and sometimes a permit. Our post on kitchen renovation permits in Waterloo Region covers when one is needed.
Cabinets are planned around appliances, not the other way around. Write down the width, height and depth of each appliance you're keeping, and look up the spec sheet for anything new you plan to buy. The common widths are:
If you're replacing appliances as part of the project, choose them before the cabinet design is finalized. A fridge that's 1" too wide for the opening is a painful discovery on install day.
If you have a level, check the floor along each cabinet wall. Note the low and high spots. Cabinets are shimmed level during installation, but a floor that drops more than about half an inch across a run changes toe kick and countertop planning. Also check whether corners are square by measuring 3 feet along one wall and 4 feet along the other from the corner: if the diagonal between those two marks isn't close to 5 feet, the corner is out of square.
Take a straight-on photo of each wall, then close-ups of plumbing, outlets, vents and any odd details. Photos catch what the sketch misses, and they let a designer answer questions without a second visit.
With that, a designer can sketch a real layout on the spot rather than guessing. Our post on what to expect when visiting a kitchen showroom walks through the first meeting, and our guide to kitchen cabinet sizes shows how standard widths fill a wall.
Your measurements start the conversation; ours finish it. Before anything is ordered, the Kitchen & Bath World team measures your kitchen and designs every project in 3D, so you see each cabinet, filler and appliance opening to scale before a single box is built. Our kitchen cabinets pair solid maple doors and drawer fronts with a plywood box, and our team installs them for homeowners across Kitchener, Waterloo, Cambridge and Guelph.
Bring your sketch to our showroom at 899 Victoria St N in Kitchener, or request a free estimate and we'll book a time to measure.
Answers to your renovation questions
No, close measurements are enough for a first design and estimate. A sketch with wall lengths, ceiling height, windows, plumbing and appliance sizes lets a designer plan a realistic layout. Before anything is ordered, Kitchen & Bath World takes its own final measurements, so small errors in your numbers get caught. Start the process when you request a free estimate.
Measure with the old cabinets in place, working around them to the wall behind. Run the tape above the countertop and at floor level where you can, and note anything you can't reach. Removing old cabinets can reveal uneven drywall, so the final measure is best taken by the installer. Our kitchen renovation timeline shows when that happens.
Walls that are out of square or out of plumb are common, especially in older homes, and they're handled with filler strips and scribe moulding that are cut to the wall. Measure each wall at floor, counter and upper-cabinet height and use the smallest number. Let your designer know about big differences. Our kitchen renovation mistakes guide covers other early checks.
Leave enough room for the fridge doors to swing past 90 degrees so the crisper drawers can pull out, which usually means keeping it off a side wall or adding a filler. Check the fridge's spec sheet for the exact clearance at the sides, top and back. Refrigerators are commonly 30", 33" or 36" wide. See how the opening fits a cabinet run in our kitchen layout guide.
Measure each wall's length at about 60" off the floor, then measure ceiling height in several spots along the wall. Note windows, the range hood location and any bulkhead's height and depth. Uppers typically start 18" above the counter, so the space from 54" to the ceiling decides whether 30" or 36" uppers fit. Compare options on our wall cabinets page.
Bring your floor plan sketch with measurements, photos of every wall, appliance model numbers, photos of kitchens you like and a rough budget. A list of what frustrates you about your current kitchen helps a designer prioritize. With these, a first layout can be sketched in the meeting. Kitchen & Bath World's showroom is at 899 Victoria St N; see our about page for details.
Have more questions? We’re here to help.
Come see the cabinets and finishes in person at 899 Victoria St N, Kitchener — or fill out the form and our team will get back to you about your kitchen or bath project.